I’ve been taking selfies years before they even started calling it “selfies”. Taking pictures of yourself used to be called self-portraits. In many ways, it still is self-portraits, but the younger generation has pushed aside the “intelligent” term and turned it into a slang in which would people say “OMG, she takes too many selfies”. So we try our best to take less selfies, post less selfies, and seek photographers (who have no idea how to photograph) to take our picture.
You know what I say…how the heck would you know what your good angle is if you don’t take self-portraits of every angle? So go take those selfies, post like a model, try every angle and I promise you, by the 50th photo, you’d have taken some killer photographs of none other than yourself. Yes, you are officially your own personal photographer.
Now, we’re not perfect people, but neither are our pictures. Some photos will come out great and some…not so much. No worries. Just go download a Photoshop app (A few of the ones I use are: Photo Editor, InstaBeauty, and Afterlight) and play around with it. You don’t have to be a professional to turn a plain photo into a great photo.
Here are 6 tips for turning your selfies into photography:

Tip 1: Take a bunch of selfies until you’re satisfied. Make funny faces, cute faces, smile, grin, kiss-kiss poses, serious faces, play with your hair (if you have any), sexy faces (trust me, we all have one), side profile, and front profiles. Lastly, put yourself on either left or right of center, especially if you have a spectacular background you want to capture.
Bonus Tip: Colored backgrounds make for an easier selfie photoshoot. I’ve found that it automatically gives oomph to any photo.
Tip 2: Download Photoshop apps (sometimes you’ll need more than one as they all perform different tricks) and start editing by uploading one of your many selfies.
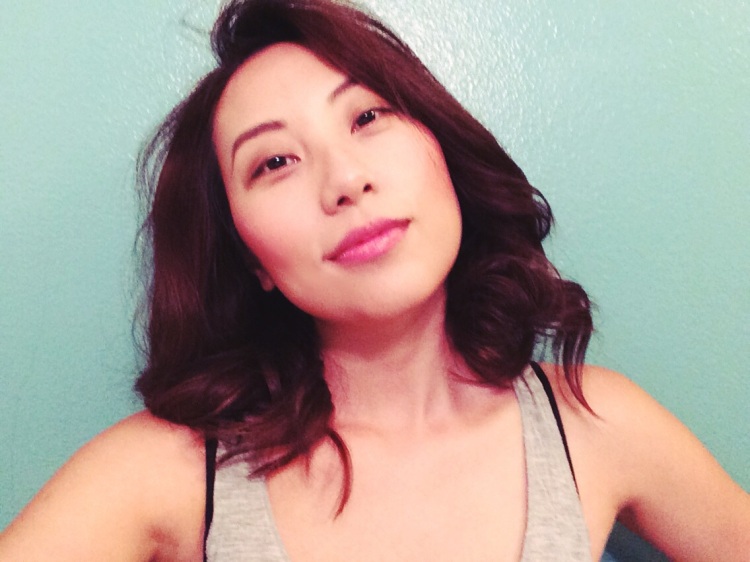
Tip 3: Keep it simple. If you don’t want to do too much to a photo, but simply want to highlight the good stuff, then play with the basic features, such as brighten, contrast, highlight, and saturation. I added contrast to darken my features in this photo. If you don’t already know, contrast works wonders. But don’t over do it.
Tip 4: Play with the filters. Don’t be afraid if it makes you look too pale or too dark. You can always brighten it up or add contrast afterwards. In the picture above, I simply added texture and a few spotted bright lights from the Afterlight app. I wanted to keep the background as dark as possible without making me look too dark. The end result wasn’t too crazy but not plain jane, either.

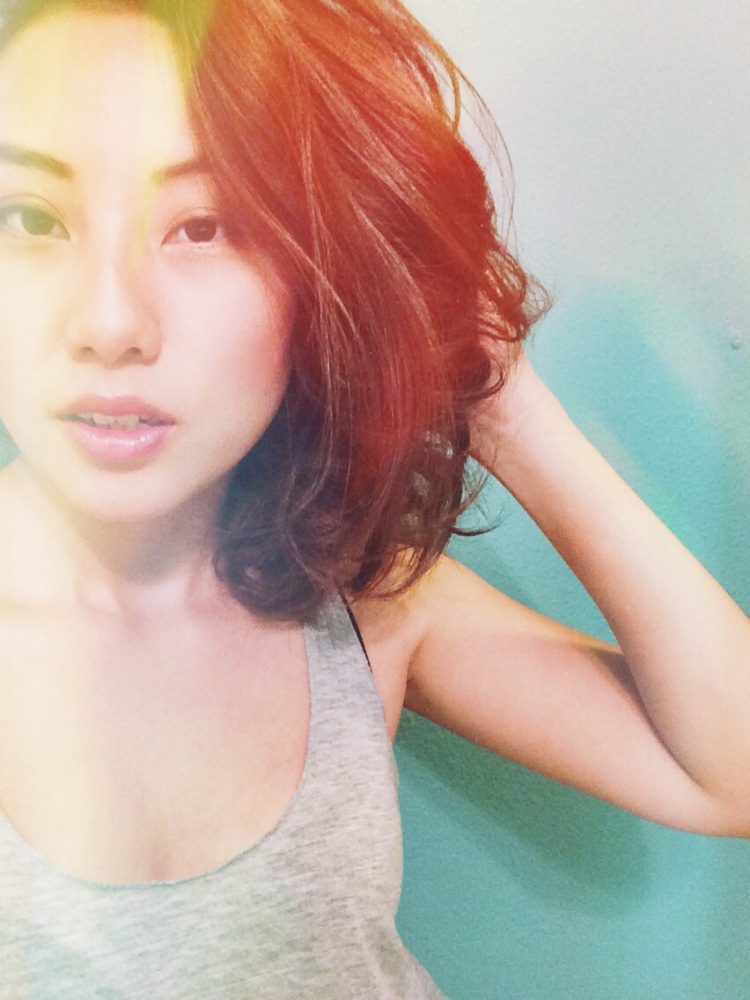
Tip 5: Add false colors. Obviously, the space I was in had no purples or reds, but adding more color to the original one didn’t hurt. My eyes actually appeared a little sleepy in this photo, so the additional colors worked to my advantage. Not to mention, the focus is on my incredible biceps. ;P

Tip 6: A black and white photo is never a bad photo. Actually, the truth is…all bad photos look incredible in black and white. The secret behind this photo is that my dark circles were very prominent and I did not look cute at all. So I simply used the blemish feature in Photo Editor to fade out my under eyes, then used the black and white filter. I finished it off by smoothing out the entire photo on InstaBeauty. The black and white filter, however, was the real magic in hiding the imperfections.
Remember, don’t be ashamed of selfies, for they were originally self-portraits. Self-portraits are portraits of an artist produced or created by the artist. You’re an artist and artists are skilled individuals. Who am I to deny you of the skill that you possess in capturing the essence of yourself? So, just do your thing! But first, you need to take a selfie.
Love, Paku
